Slash and Spread 101
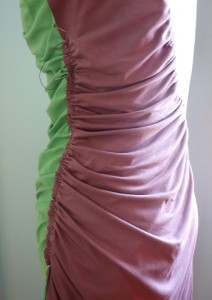
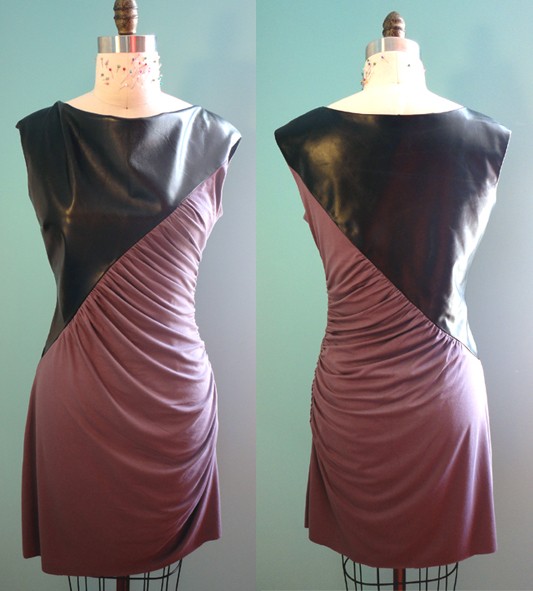
We designers talk dirty once in a while, especially when it comes to alterations. Slash and spread is an easy way to add fullness for shirring, pleats, gathers or darts. I often make a muslin (a mock-up in cheap fabric) before committing a design to real fabrics in case I want to make changes to the original design or fit. Example: “My Better Half” dress for Garrott Spring 2011. The pattern did not have the desired shirring on the knit side seam as the sketch shows. I added fullness in until I got the desired drape and effect you see in the finished garment.
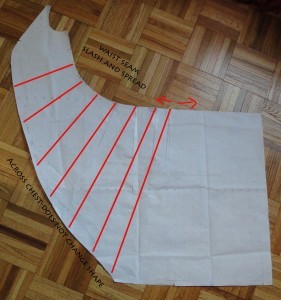
Slash and Spread: I begin by slashing the pattern in 7 lines from the place where I want to add fullness to the place where I want the drape to fall from. I am careful to cut up to-but not through the end of the paper. I want the pattern to remain in one piece and not to alter the shaping on the other side.
I space the lines closer together through the hip and farther apart at the bust because I want most of the fullness to drape at the hip. Red arrows indicate which side to spread each cut. Adding 6 inches total along this side seam between the notches, I tape it down to a new piece of paper and re-trace the new pattern. Be sure to transfer all notches, and marks to the paper below. 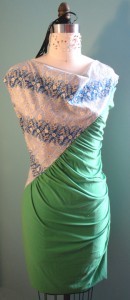
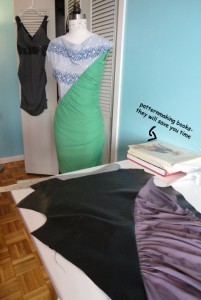
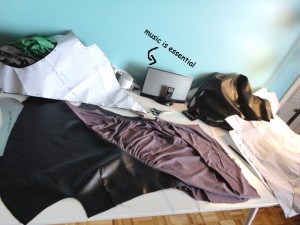
It may take more than one go to find the right ratio, I cut this piece twice to get it perfect. I pin the shape to the dress form with the previous muslin under it to compare the fullness.
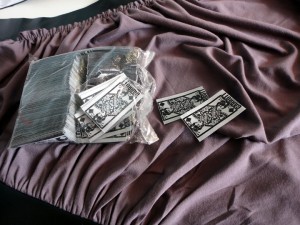
“I love it when a plan comes together” and how fun is it to put the label on it when it does.


