Nothing will get me in the studio faster and keep me there longer than avoiding the arduous task of doing my taxes. Why do I insist on doing everything myself? With globalization and cost effective out sourcing, according to “The World is Flat” (Thomas Friedman) I should be able to delegate my taxes, draping, first sample making and just about everything I do myself, to some other part of the world.
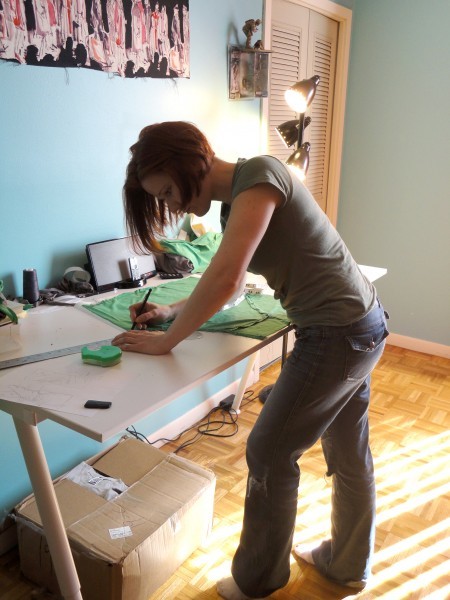
Drafting the sloper
It is time consuming, I am not fast at this, but I am particular and precise. In school ( some time ago) my professor told me I had beautiful patterns, I didn’t know what she meant until I saw what some factories send back to me after 4 weeks. Which is why I do my 1st patterns here.
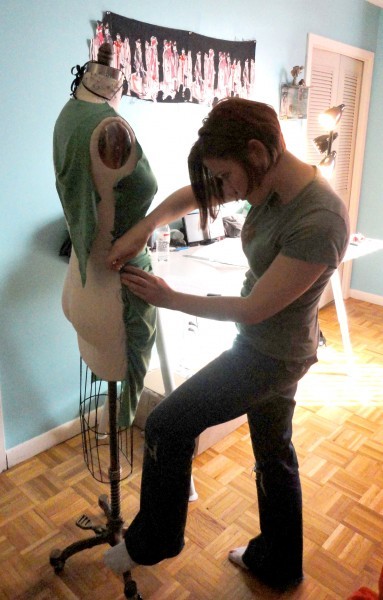
Placement and pinning
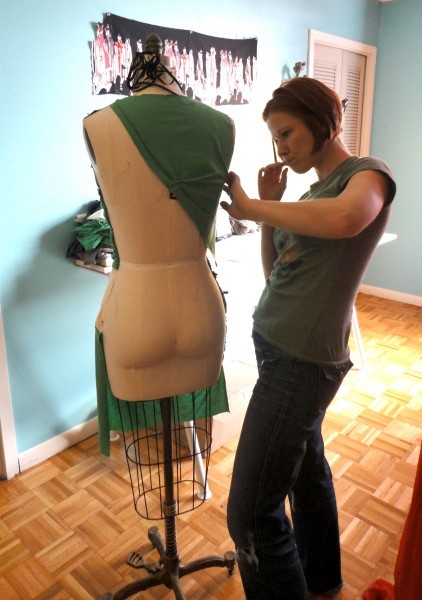
Draping and pinning
First, I start with a basic sloper or a loose pattern to cut and drape the style from. Here is what the sloper looks like before I make any changes.
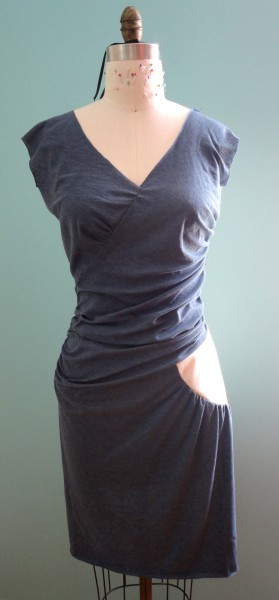
Basic Sloper
It’s pretty loose and big and saggy all over, plenty of room for cutting and shaping. I make a rough sketch and note the changes I intend to make as I drape and when I transfer to paper.
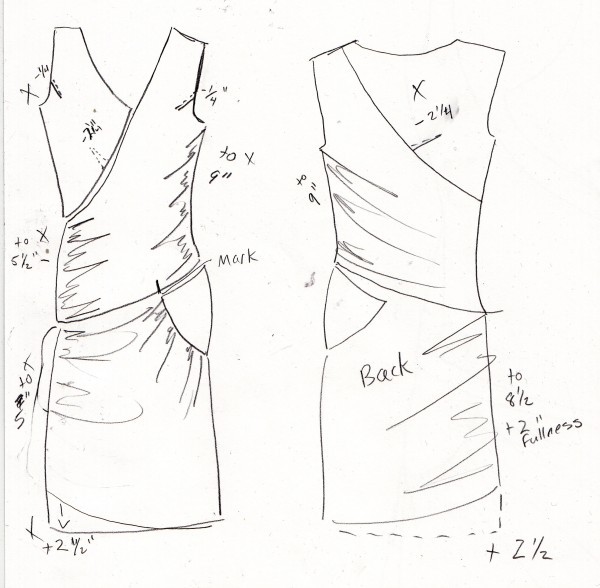
Rough sketch to note changes as I go
I use tailor’s chalk to mark my new seams, notches, etc… before transferring the drape to paper for additional alterations.
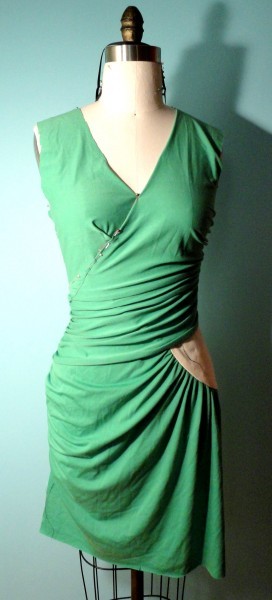
Complete first drape
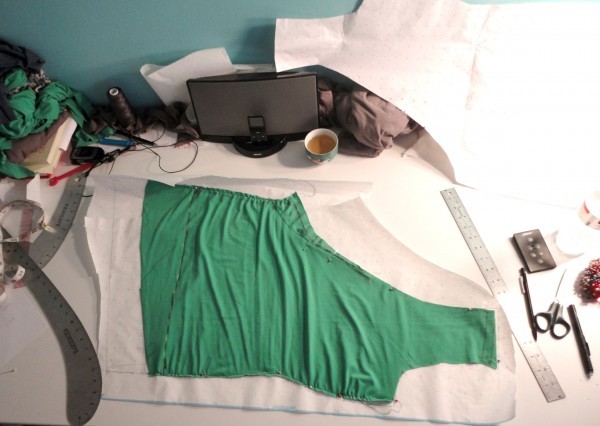
Transfer to Paper
I pin the new drape to a copy of my sloper pattern and trace my markings with a tracing wheel. I am not yet including seam allowance because I will be making additional changes and balancing the seams.
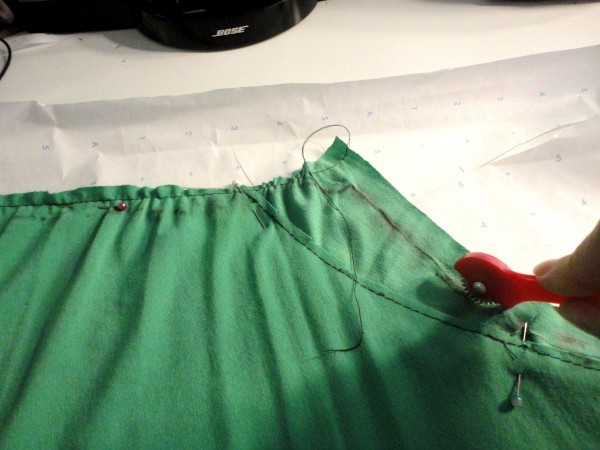
Tracing to paper
I need to add fullness in the skirt drape which is easiest to do via Slash and Spread as I explained in another post.
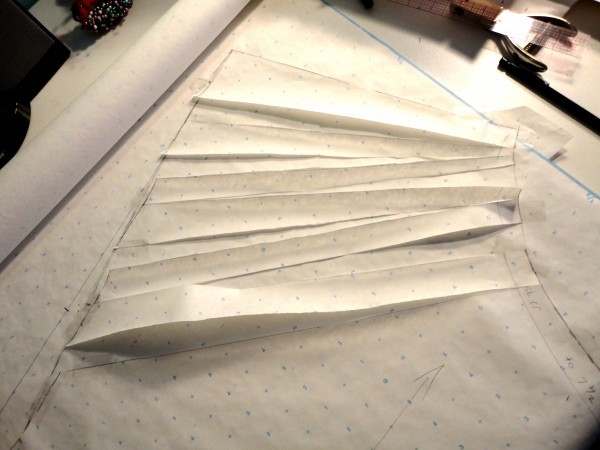
Slash and Spread
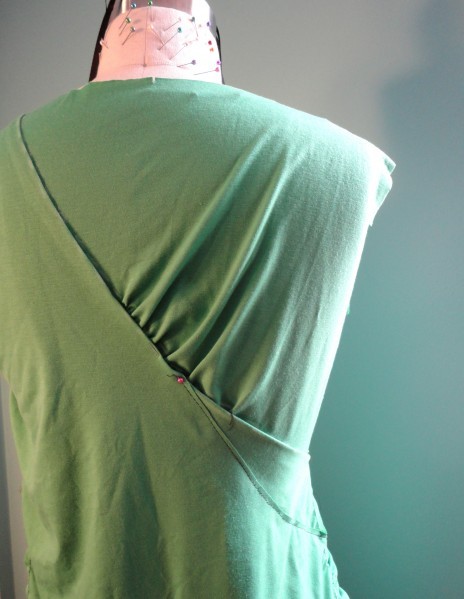
Removing design details
I don’t like the shirring on the upper bodice back so I take that out after I’ve transferred to paper. Once I am satisfied with the paper pattern I cut a new test muslin. I use the muslin to make my final design “tweaks” and perfect the fit.
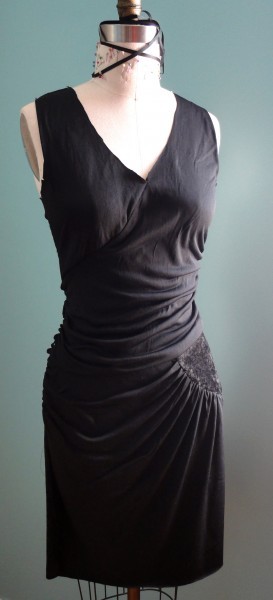
Test Muslin in Progress
Once the test muslin is done, I can have the final garment cut and sewn. (fun) Now, I had better do my taxes! (not fun)

